Checklists must first be created by users with an administrator role. Multiple checklists can be added to a students profile to track and manage students progress across multiple departments.
-
Adding a Checklist to a Students Profile:
- Go to the students profile and scroll down to the documents section
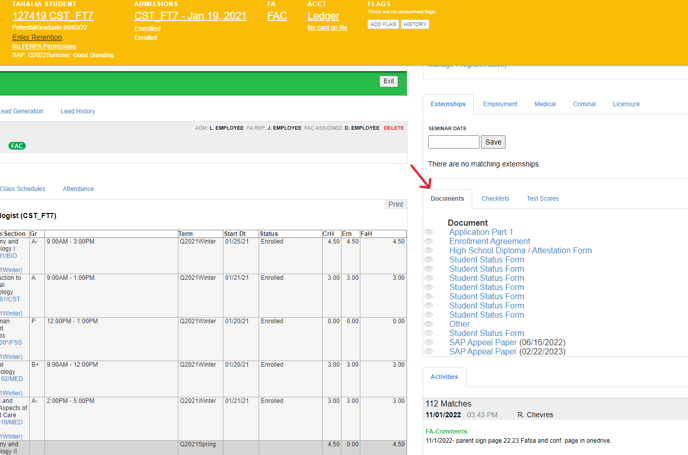
- Click on the checklists tab

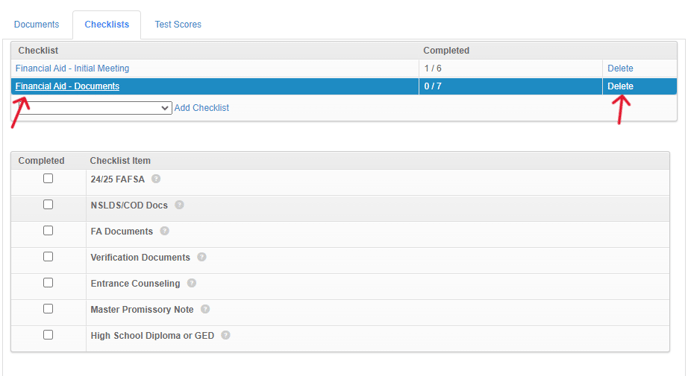
- Choose the checklist you want to add from the drop down box, then click Add Checklist. A pop up will appear asking if you are sure; click ok.

- The checklist is then added to the students profile:

- Go to the students profile and scroll down to the documents section
-
Using checklists:
- When a box on the checklist is checked a pop up will appear asking if you are sure; click ok to proceed to check the box as completed.

- Click the question mark next to a checklist item to show any details added for that item

- If there are multiple checklists, click the name of the checklist you want to view
- To delete a checklist, click 'delete'
- When a box on the checklist is checked a pop up will appear asking if you are sure; click ok to proceed to check the box as completed.